How to set up a proxy IP in the PurpleMark fingerprint browser?
2026-11-16 00:00
 Blake
In scenarios such as cross-border e-commerce, social media matrix operations, or data scraping, providing an independent and secure network environment for each account is the core of avoiding account association. The golden combination of an antidetect browser + high-quality proxy IP is the best solution to this pain point.
Today, we will use ZooProxy as an example to walk you through how to configure a proxy IP in the PurpleMark antidetect browser step by step. The whole process is mainly divided into two major steps: “Obtaining the Proxy” and “Binding the Proxy.” Follow along, and you’ll get it done easily!
Step 1: Purchase and Extract an IP in ZooProxy
Before using the antidetect browser, we need to prepare clean proxy resources.
1. Register and Log In
Go to the official ZooProxy website, complete the registration, and log in to the dashboard.
2. Select an Appropriate Plan
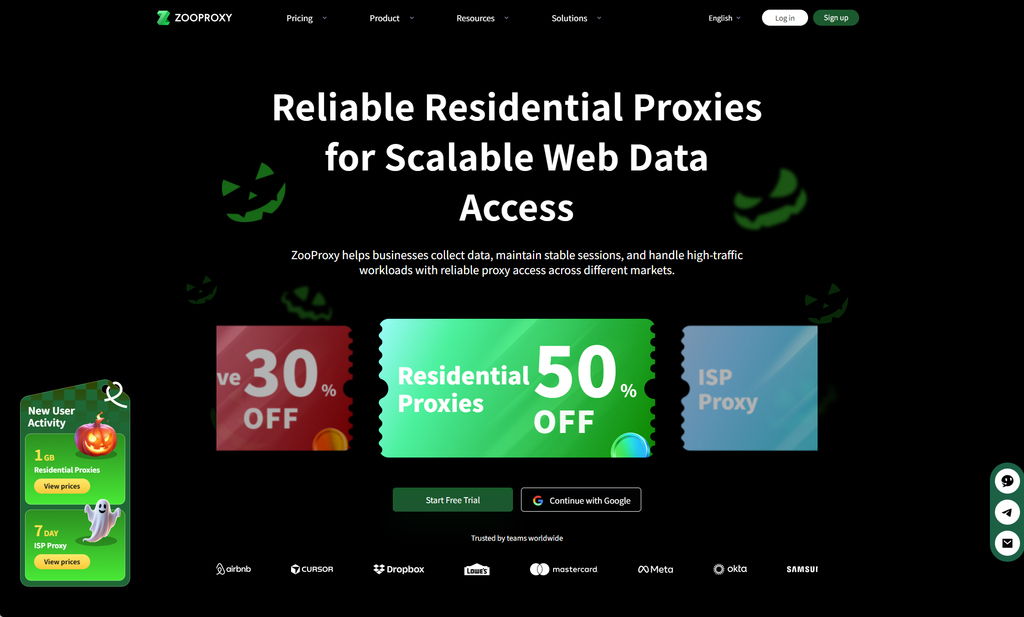
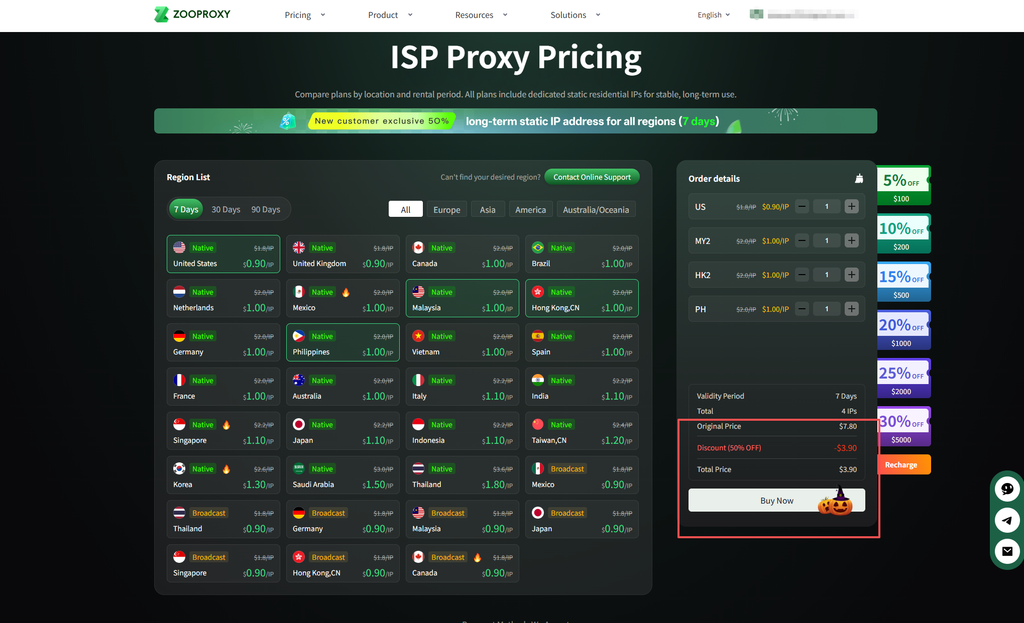
Choose a plan based on your business needs. 💡 Tip: If it’s for long-term, stable account operations, a static ISP proxy is a more suitable choice. In terms of protocols, ZooProxy supports HTTP, HTTPS, and SOCKS5. In antidetect browser scenarios, the SOCKS5 protocol has the best compatibility, so it is highly recommended to prioritize it.
3. Extract Proxy Information
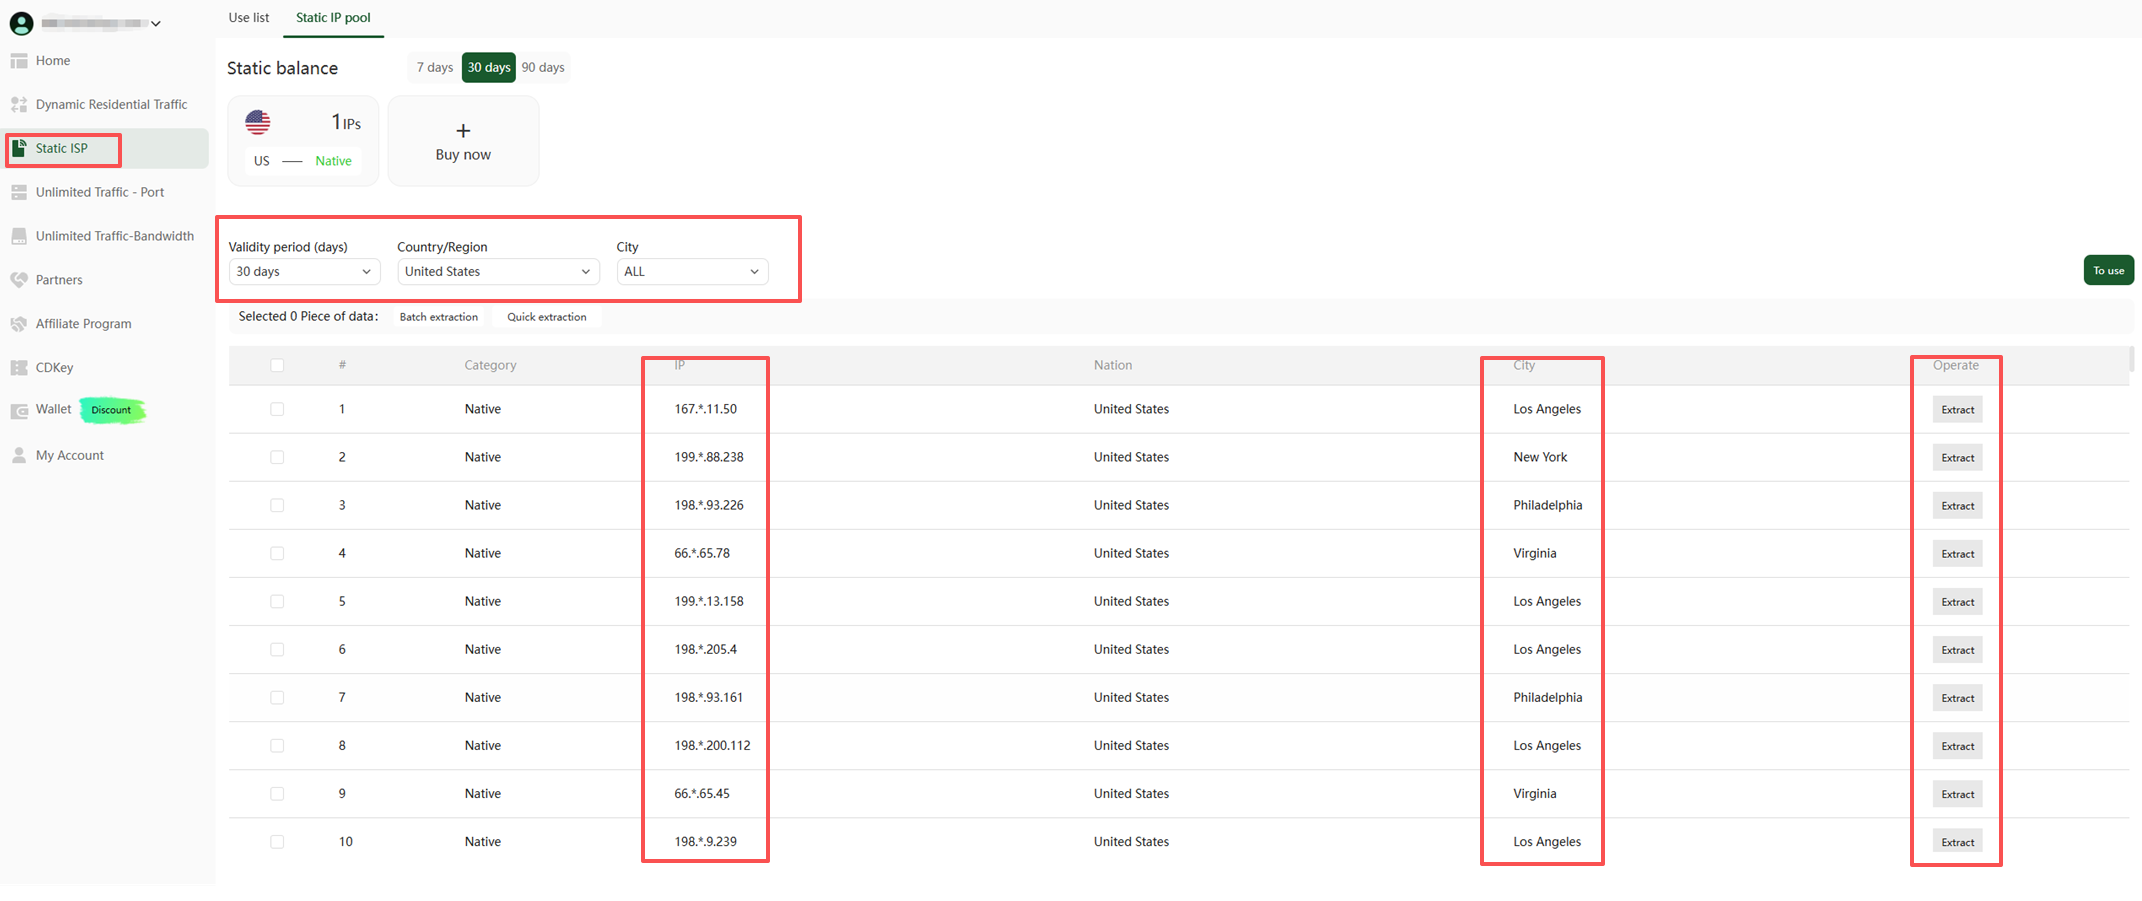
After completing the purchase, return to the IP management interface in the console. Filter by your desired country/city (e.g., Los Angeles), and then extract the corresponding IP. After successful extraction, you will get a complete set of proxy connection information (including host, port, username, and password). Please save it properly for later use.
Step 2: Configure and Use the Proxy in PurpleMark
Once the proxy is ready, let’s move on to the configuration in the PurpleMark client.
1. Download and Log In to the Client
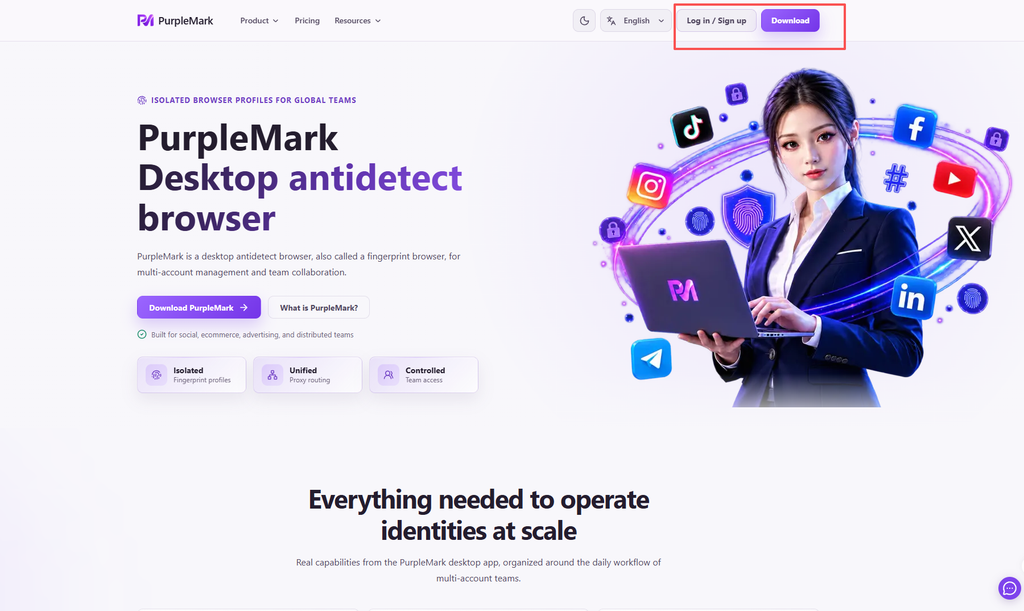
Visit the official PurpleMark antidetect browser website, register an account, and download the client. Log in and enter the workspace.
2. Enter Proxy Information
In the PurpleMark workspace, find and navigate to the “Proxy Management” page in the left sidebar. Click “Add Proxy” and accurately fill in the connection information obtained from ZooProxy in the previous step.
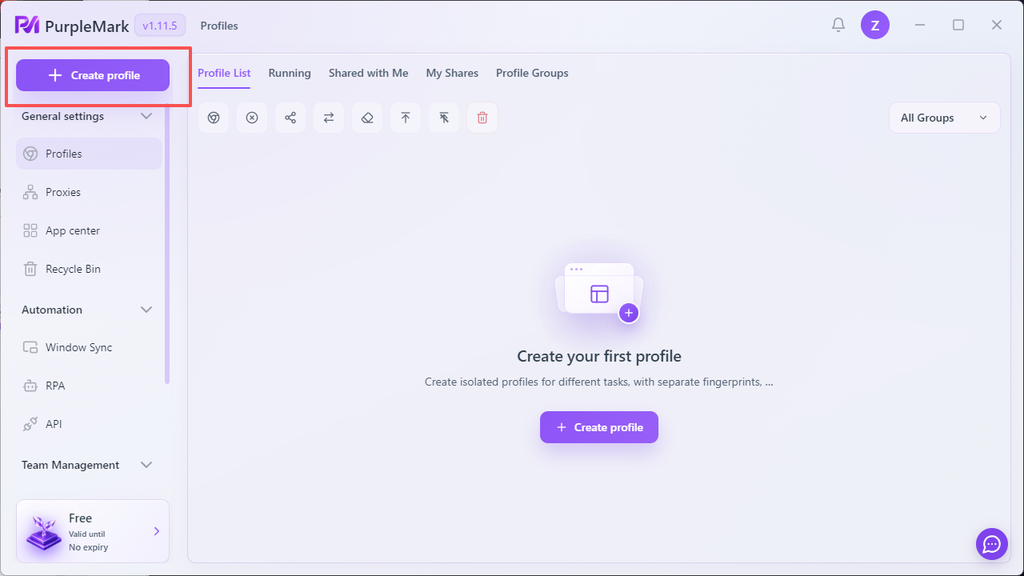
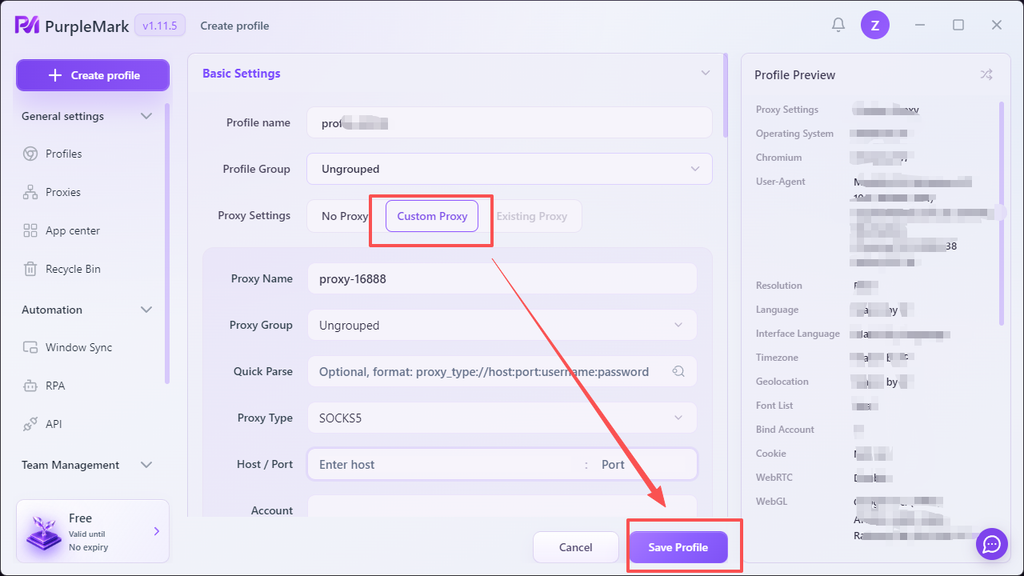
3. Create a New Environment and Bind the Proxy
In the PurpleMark workspace, go to “Custom Proxy” and add the ZooProxy (make sure to select the correct protocol and fill in the host, port, username, and password). Next, create a new environment, select this proxy under the “Proxy” section, and click “Save Environment” after binding.
💡 Troubleshooting & Verification Steps
To ensure everything is perfect, it is recommended to perform the following verifications after configuration:
- Start the environment and verify the exit IP: Click “Open” in the environment list to launch the browser. Visit some IP lookup websites and confirm that the IP address and location displayed on the webpage exactly match the ZooProxy proxy information you bound. This indicates a perfectly successful configuration.
- Connection failure troubleshooting: If a connection failure is prompted during the “Check,” please first verify whether the host, port, username, and password are exactly identical to the information provided in the ZooProxy dashboard (be especially careful not to include extra spaces), and check whether the protocol type (e.g., SOCKS5) is selected correctly.